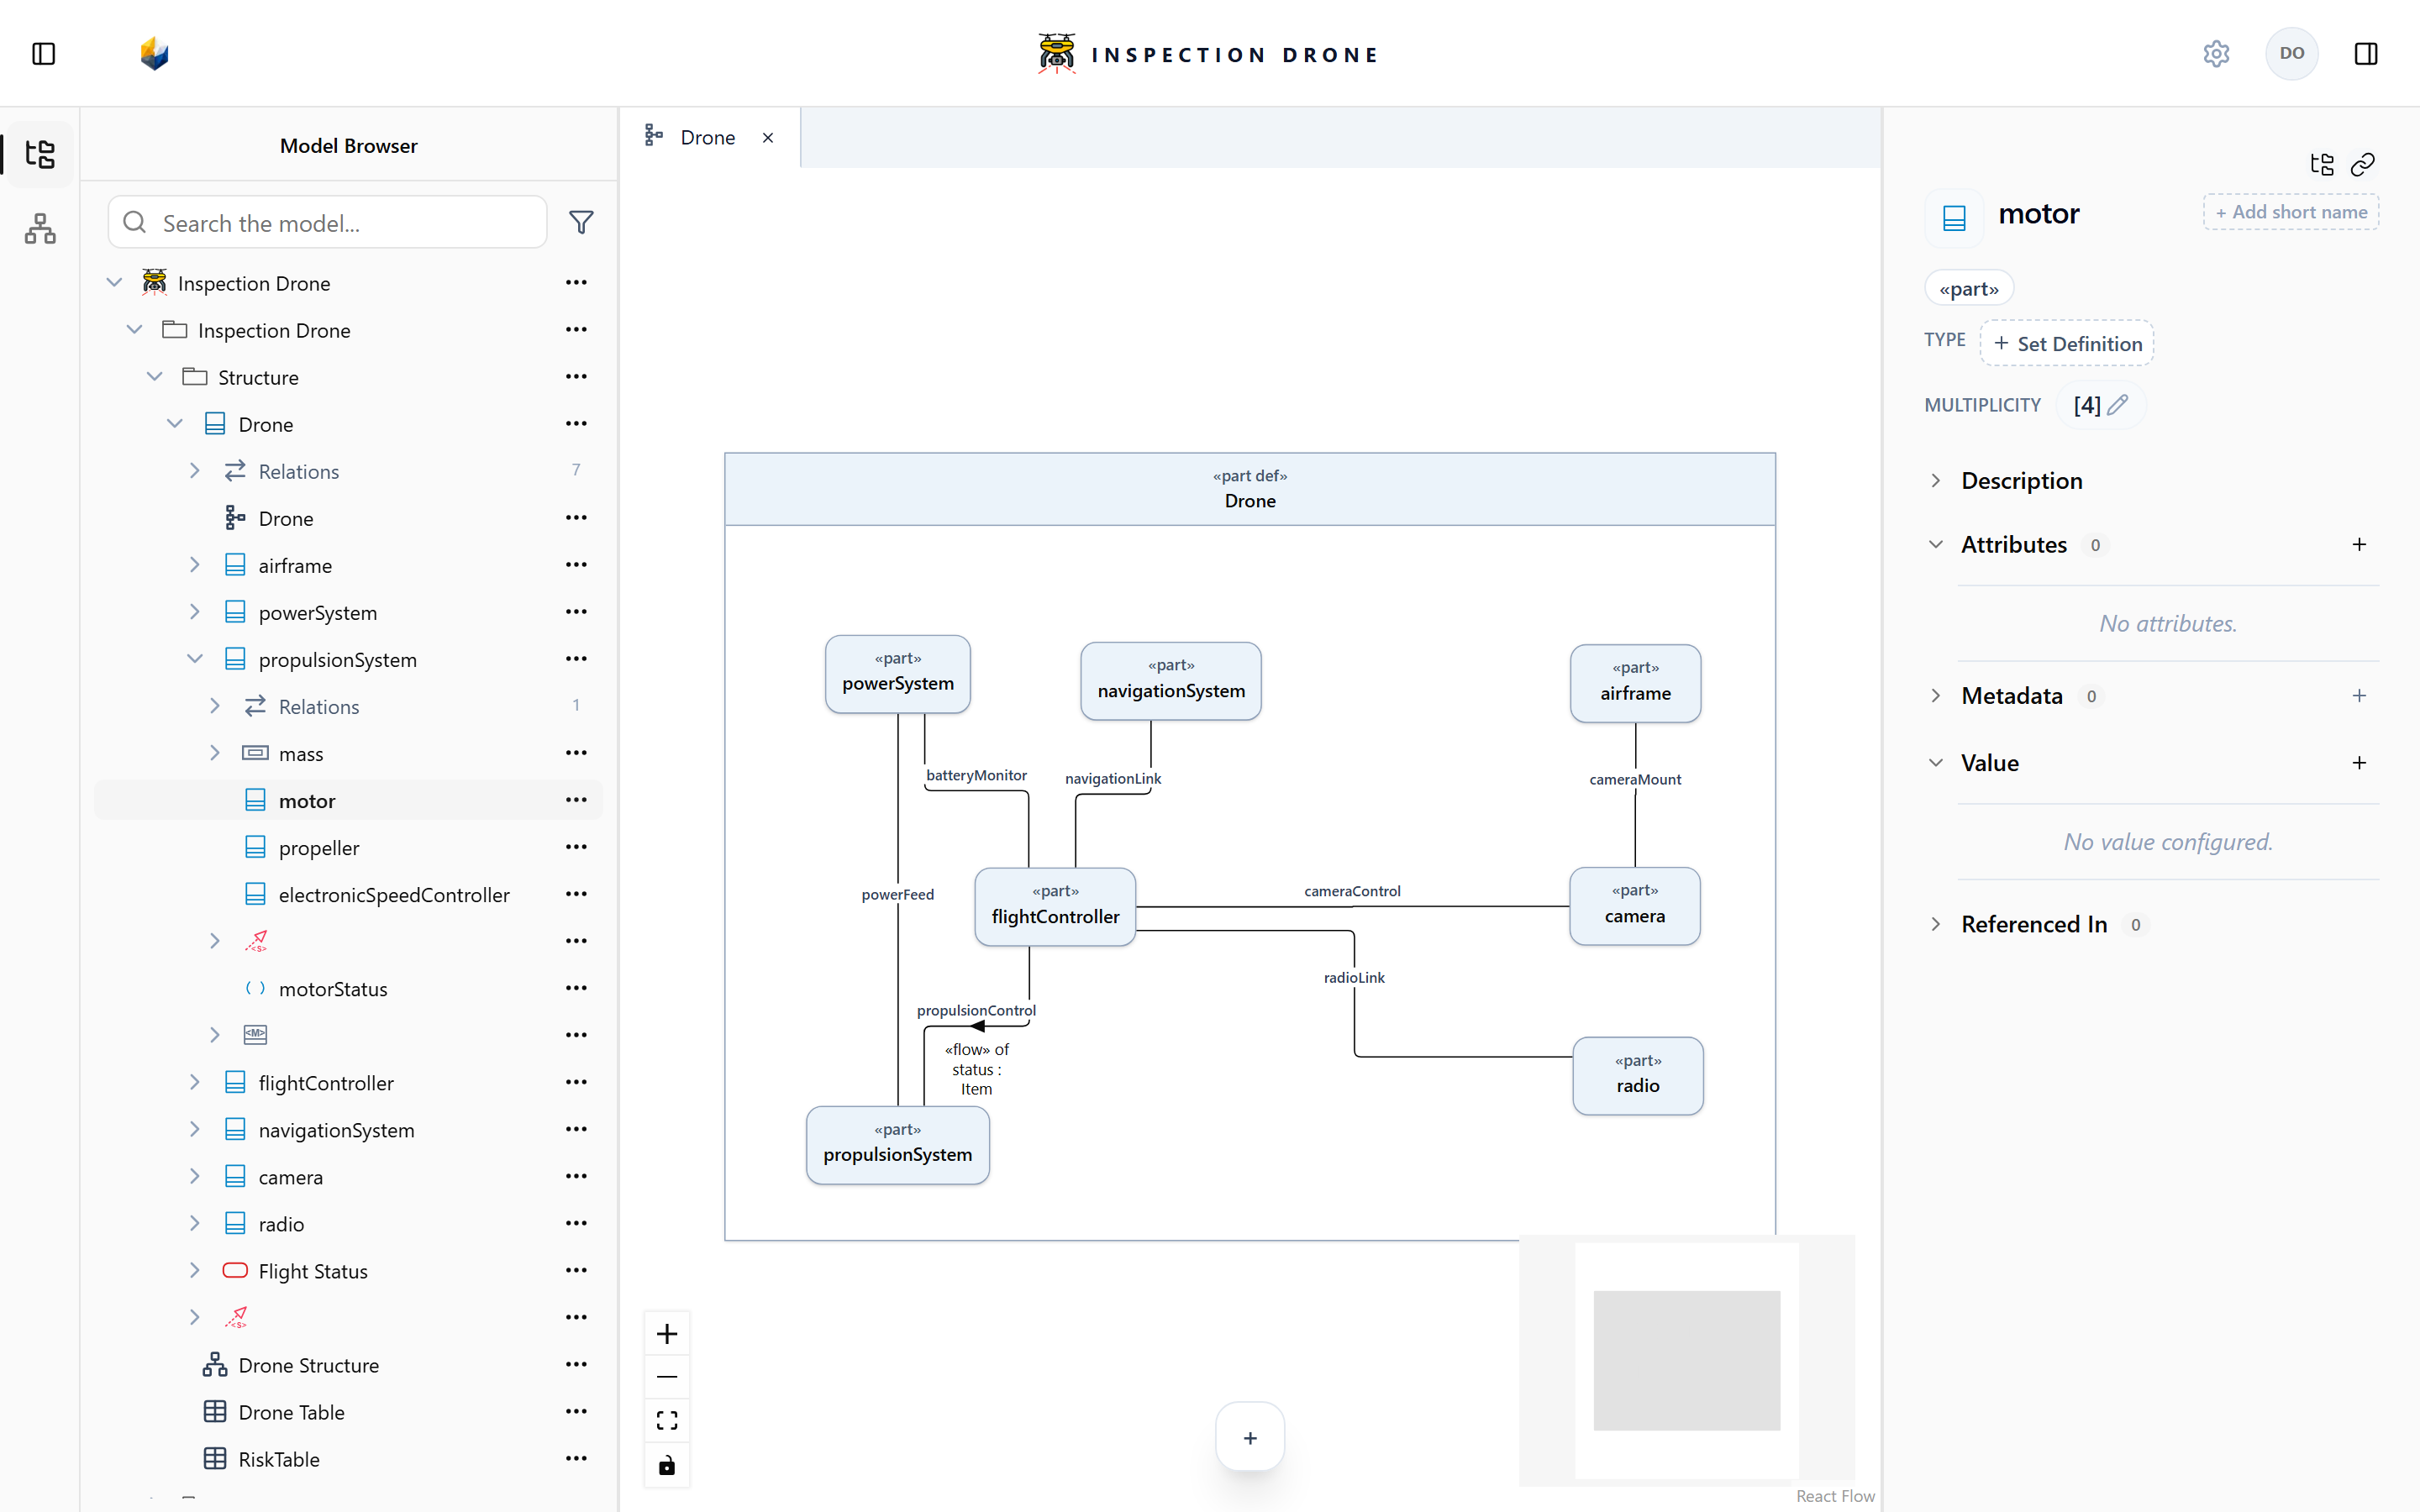
Model Browser
The Model Browser shows elements beneath their owners. Expand a package, definition, or usage to find its owned content.
Create an element
- Find the intended owner and hover over its row.
- Open the row’s actions menu and choose Create Element.
- Choose an available element kind.
- Enter a name and press Enter. Use Escape to cancel.
For example, a package can own a part def describing a reusable system type. A part definition can own part usages describing its composition. Available creation kinds depend on the selected owner.
Check: the new element appears beneath the intended owner. If its kind is missing, check that you selected an appropriate owner and that the model is editable.
Find and inspect
Expand a row to see owned elements. Use Search to find an element by name and Filter by Type to narrow the tree by kind. Clear filters to restore the full tree.
Click an element to inspect it. Double-click a view to open its editor. See Create a view for suitable kinds and owners.
Rename and remove
Use Rename from an element’s actions menu, or F2, to change its name.
Delete Element removes the model element. Removing its presentation from a view is a separate action; see Diagrams and Tables.
Reuse an element in a view
Drag an existing element into a static Diagram or Tabular view to create a presentation of that element. This does not create a second model element.
If an edit reports a version conflict, keep any text you need, cancel the draft, reload, and retry against the refreshed model.