Model Repository
All work starts in the Model Repository. It lists Recent models as cards and All models as rows, with a model search box and the Create New Model and Import actions.
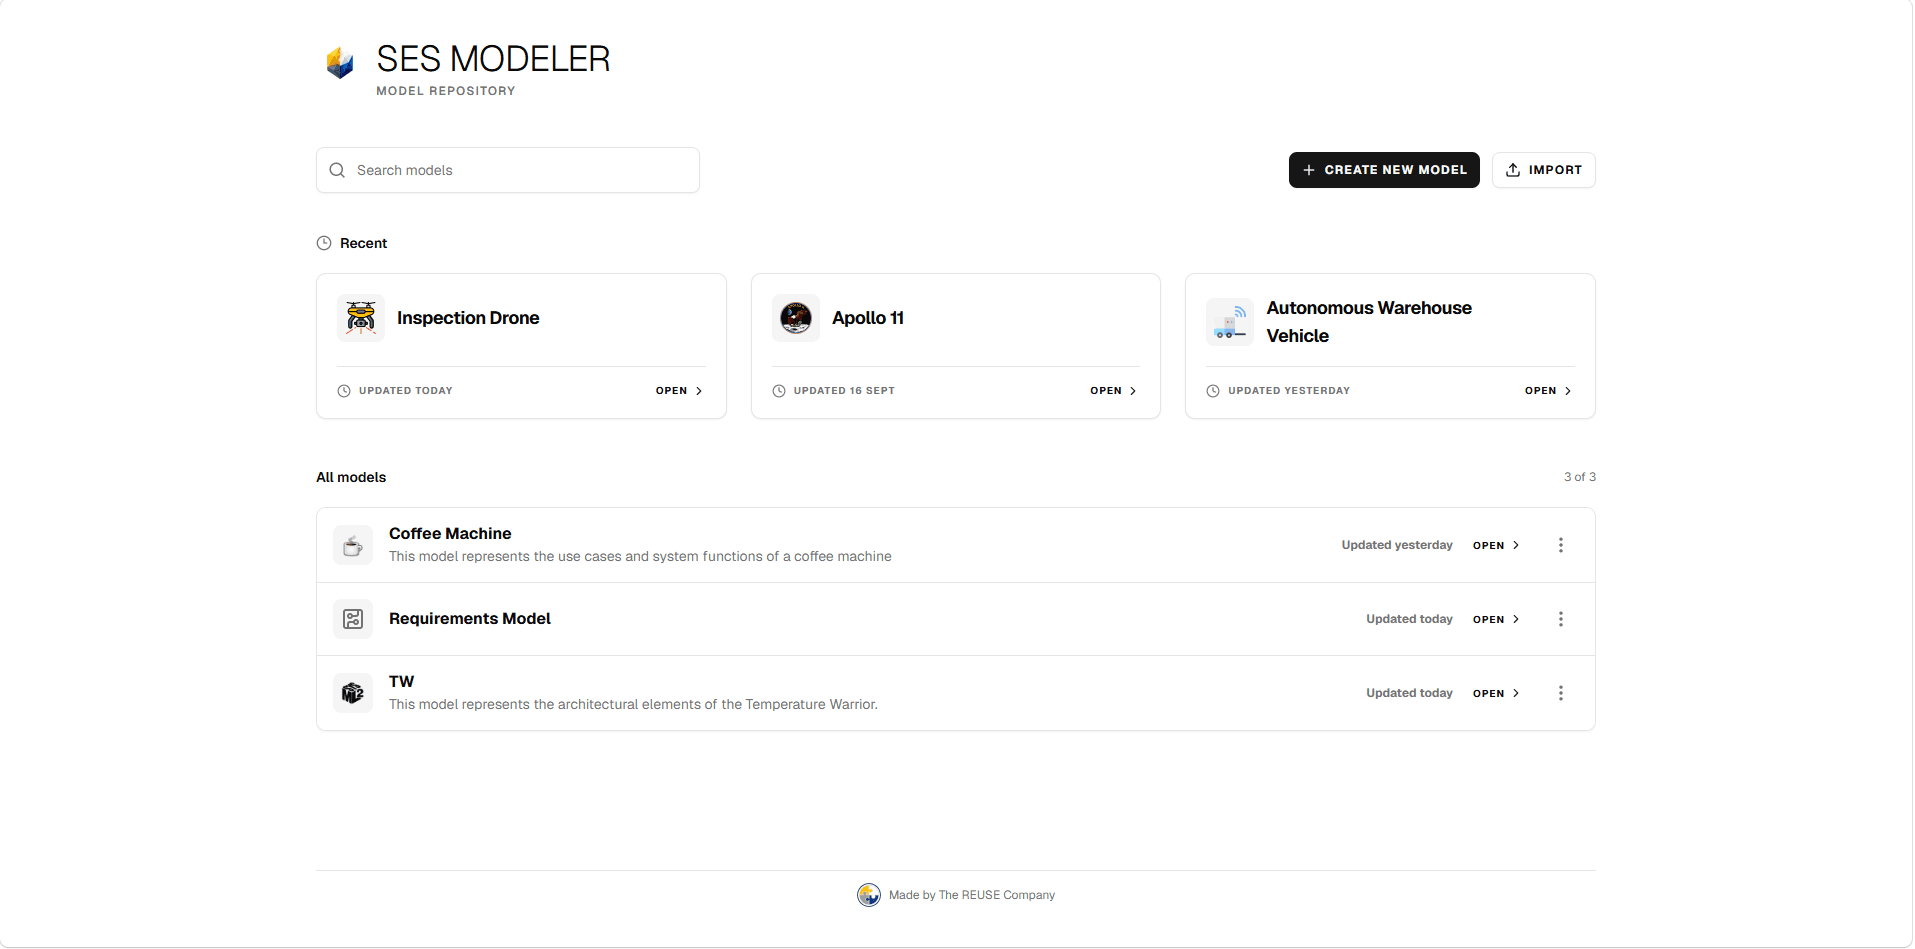
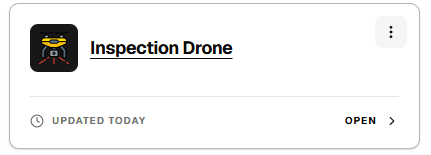
Open a model by selecting its card or row, or via the Open › link. Each entry shows when it was last updated. Each card and row has an actions button (⋮) with Edit, Export KPAR, Export SysML, and Delete.
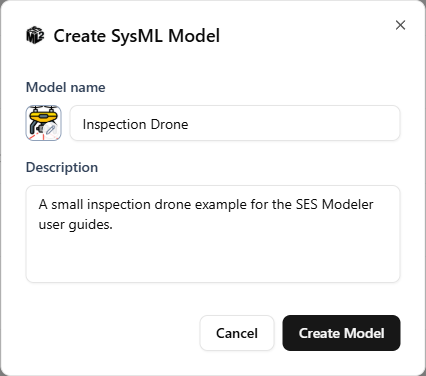
Create a model
- Select Create New Model.
- In Create SysML Model, enter a Model name. The name is required; Create Model stays disabled until it is not empty.
- Optionally select the icon button next to Model name to open the icon picker, where you can choose a preset icon or upload your own image. You can also add a Description.
- Select Create Model.
The new model opens after creation. Follow Build your first model to add a package, a system definition, parts, and a Diagram using names appropriate to your project.
Import a model
- Select Import.
- In Import model, choose the source format: SysML file (Single file,
.sysml) or KPAR project (Project archive,.kpar). - Select the file. The dialog only accepts the extension matching the selected format.
For a SysML file, select Import. The model is imported immediately.
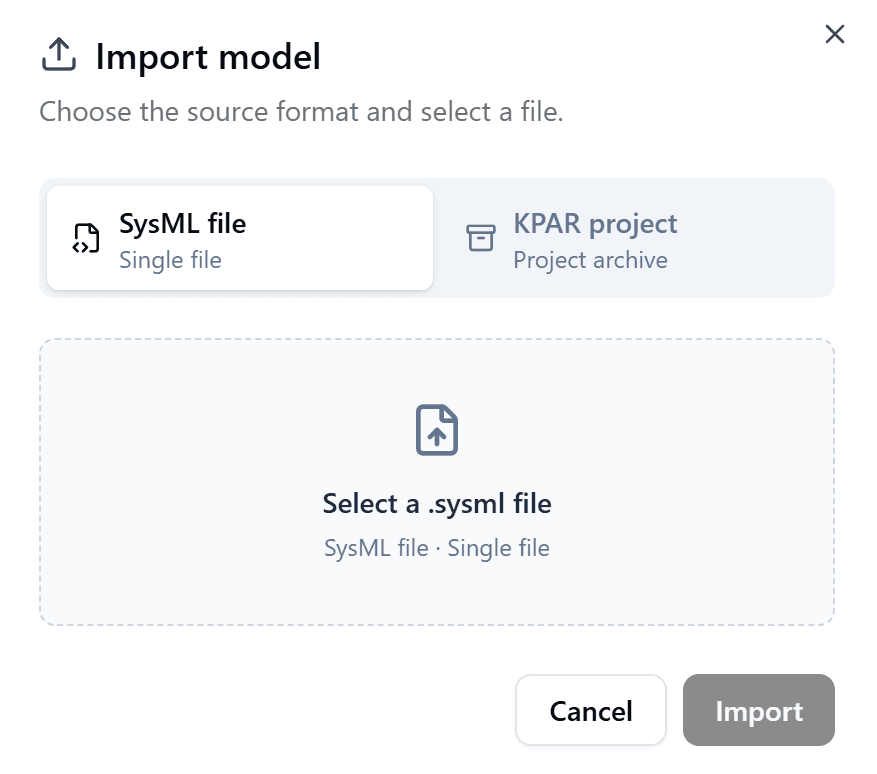
For a KPAR project, select Review project instead.
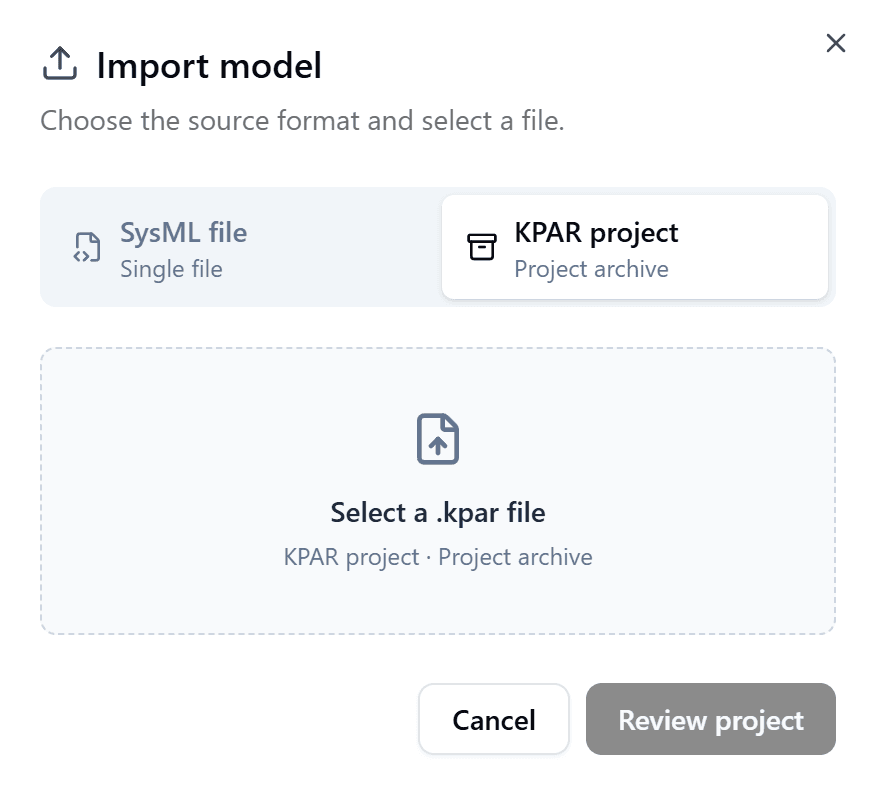
- Review the project, including its name, version, and dependencies. Resolve anything unresolved by finding a matching model or providing a KPAR file.
- Select Confirm and import.
Edit a model
- Open the model’s actions menu (⋮).
- Choose Edit.
- In Edit Model, change the Model name, Model icon, or Description.
- Select Save. Saving stays disabled while the name is empty.
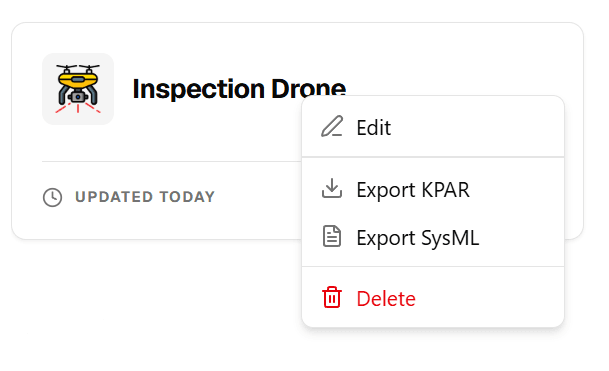
The same menu offers Export KPAR and Export SysML. Export SysML is only offered for models with a single root namespace. Delete asks for confirmation before removing the model from the repository.
Next steps
- Follow Getting started for the guided path from installation to your first model.
- After building your first model, understand the workspace using its parts and Diagram.
- Create and explore views
- Create a view